In the previous article, we talked about Vendure, what it is, and why I find it an exciting commerce solution.
In this article, we'll get started and see how easy it is to set up.
Note: For these articles, I mainly use Vendure's documentation, which is comprehensive.
Vendure quick start
The easiest way to start with Vendure is to run their create command. This will set up everything you need to get started.
Out of the box, we get:
- Admin GraphQL API
- Shop GraphQL API
- Admin UI
All you need to have is node (with npx) npm 5.2 and higher installed. With that, you can run the following command.
npx @vendure/create my-app
Where my-app is the actual name of your application.
In the installation process, you'll be asked which type of database you want to proceed with. You can pick whichever one works best for your system. It will also give you the option to populate with sample data.
To get started quickly, the SQLite option is very nice to get started with.
Once the script is done, you can navigate to your folder and run the application.
cd my-app
yarn dev
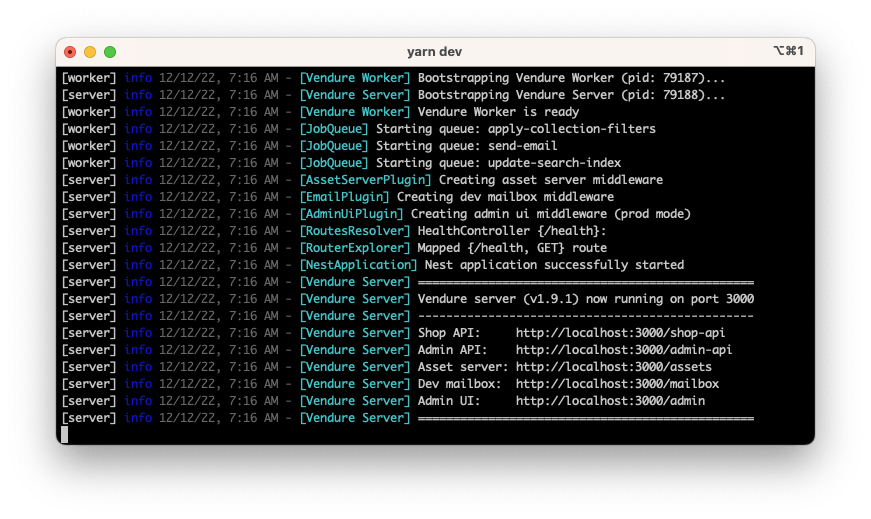
It will spool up all your available resources. Once healthy, you should see the following in your terminal.
Exploring the APIs
As mentioned, we get access to the Vendure APIs, split into two categories.
An admin API and a Shop API. Administrators can use the admin API to manage products, orders, and more. The shop API is public-facing and can be used for our eventual storefront, mobile app, etc.
Let's take a quick look at how we can reach them. For the following examples, I'm using Insomnia, but any API tool will work.
Let's start with the shop API. To access it, we can use the following URL http://localhost:3000/shop-api.
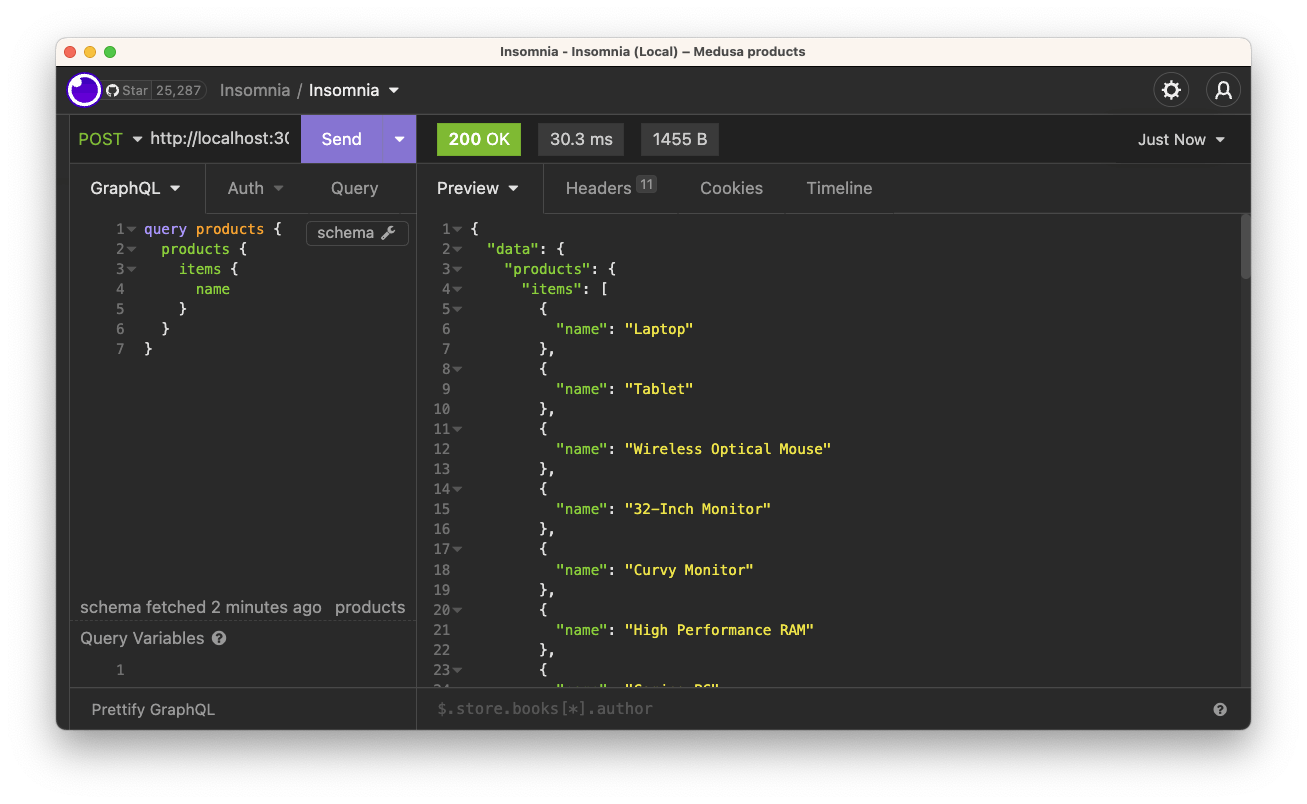
The API uses GraphQL as its layer of communication. For instance, we can use the following graphQL query to get a list of products.
query products {
  products {
    items {
      name
    }
  }
}
Which results in a list of all our product names:
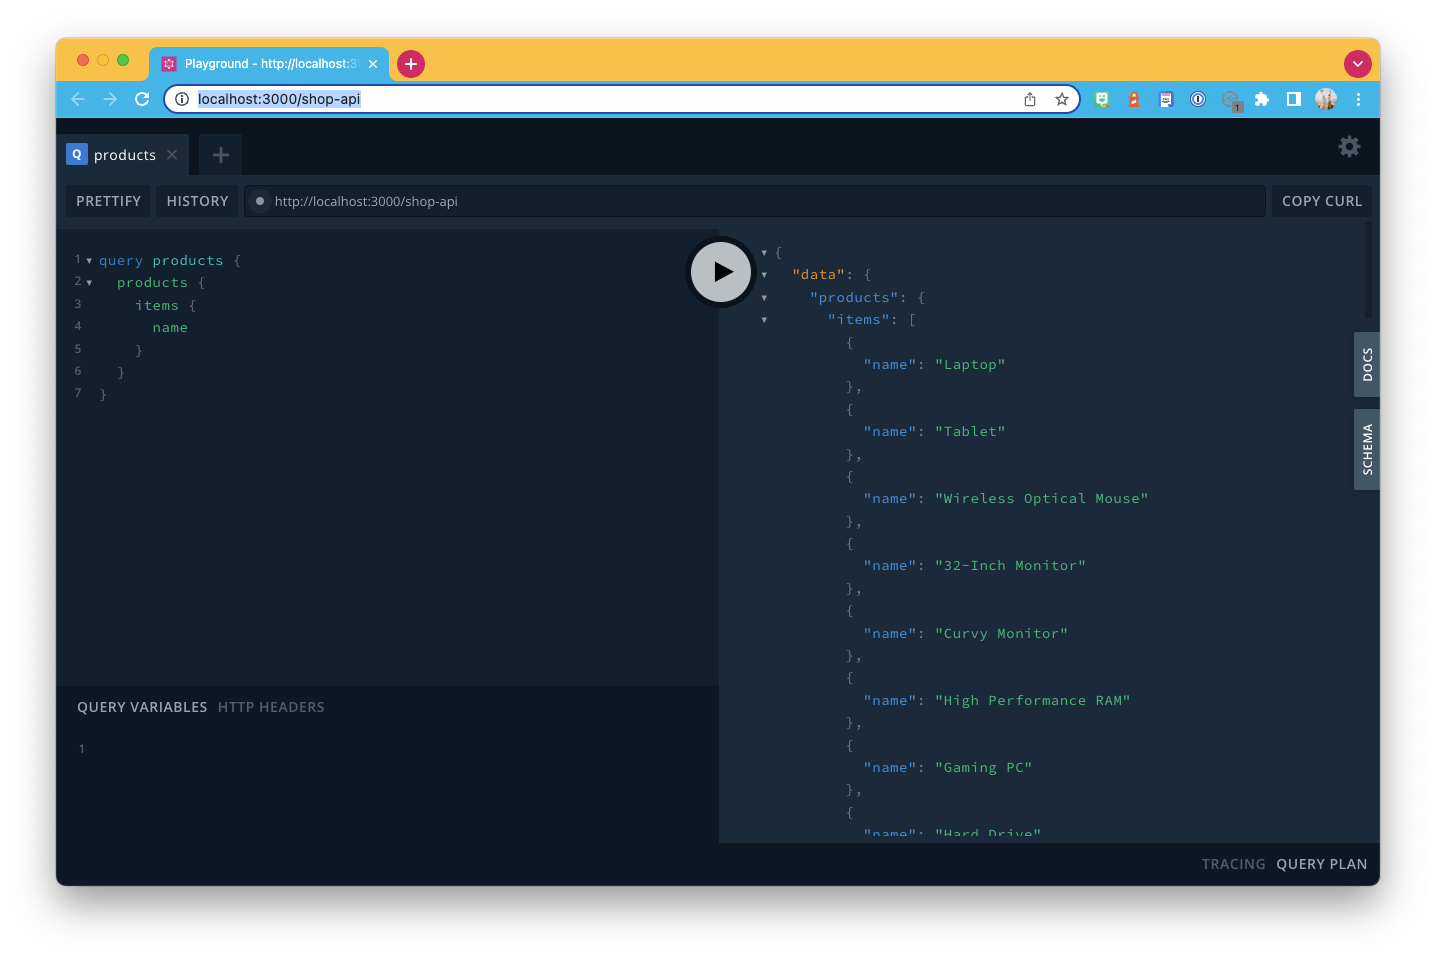
Another fantastic element of Vendure is that it gets shipped with a GraphQL explorer built in, so we can visit the API URL and query from there.
Visit http://localhost:3000/shop-api and execute your queries.
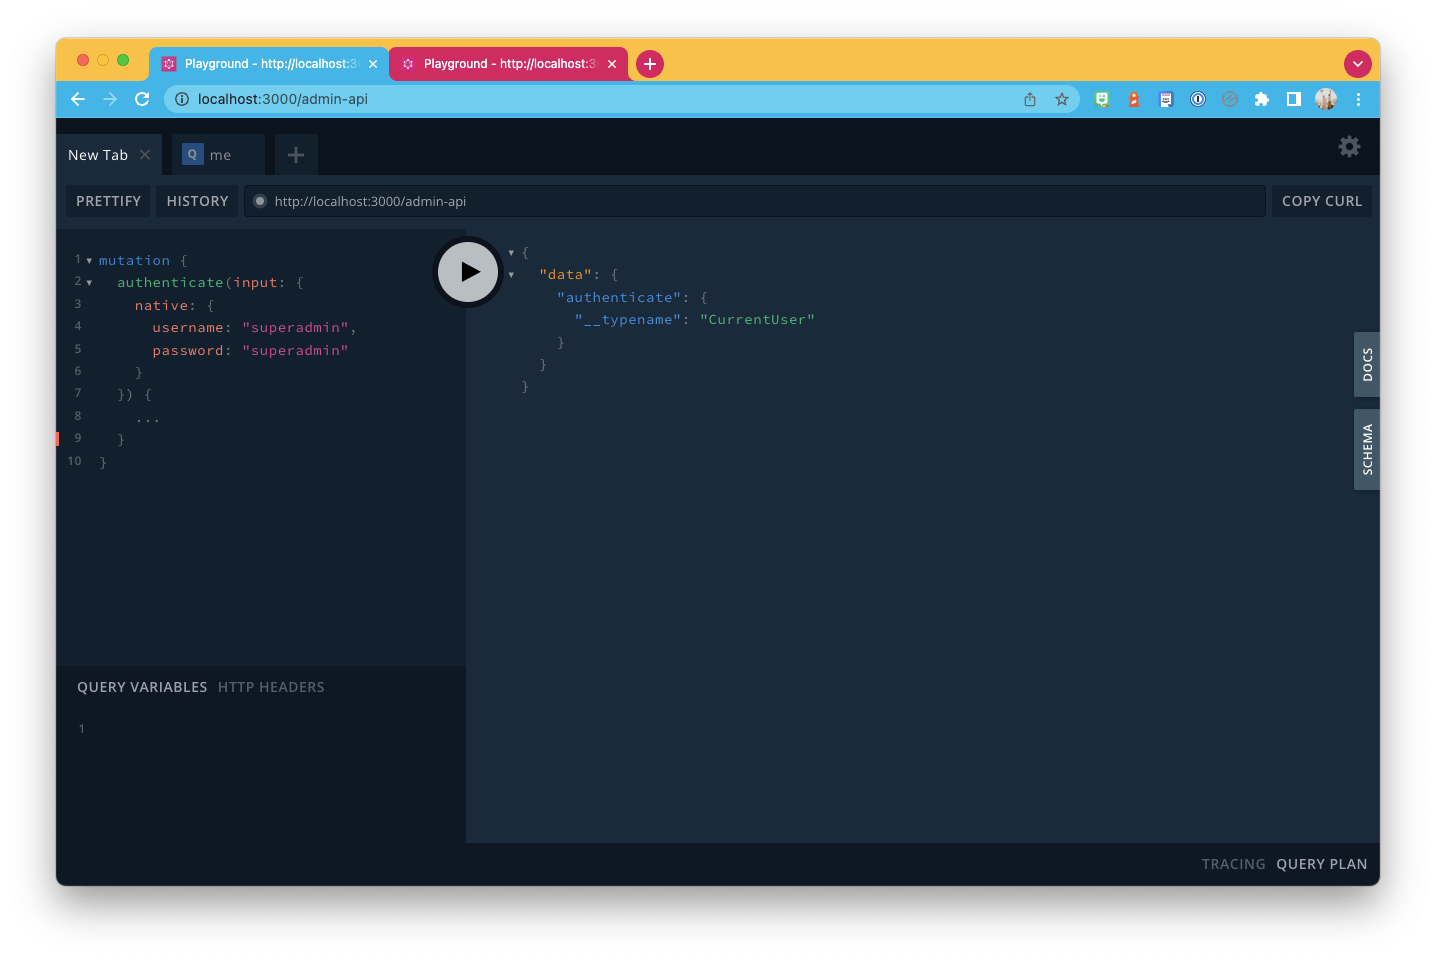
The same goes for the admin API. However, we should use the following URL http://localhost:3000/admin-api.
Exploring the admin UI
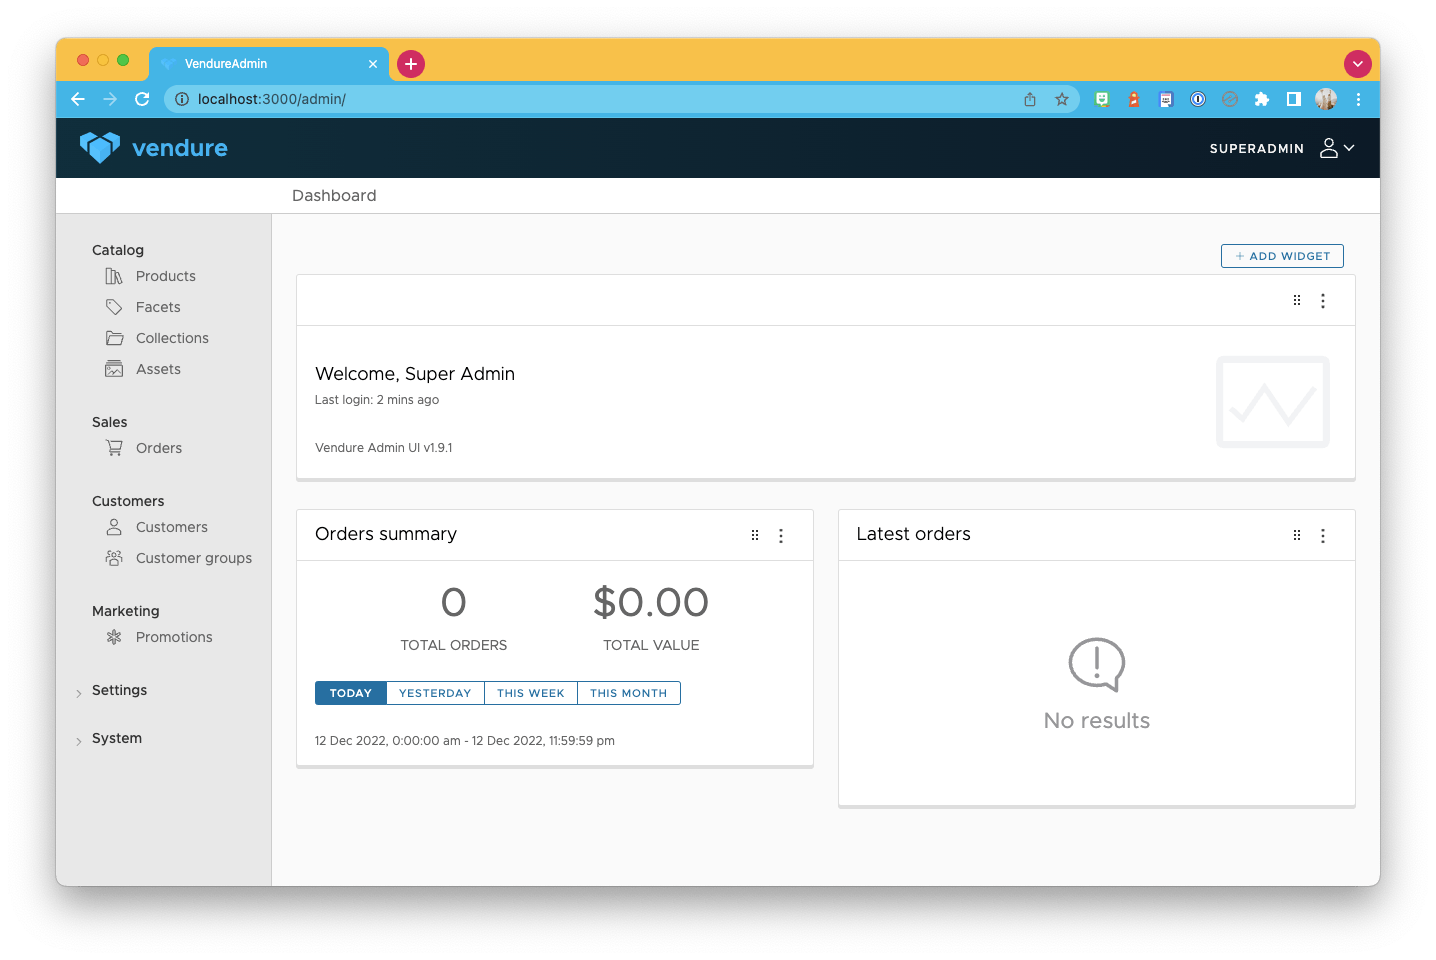
Besides these fantastic APIs, we also get access to a default admin UI.
Visit the following URL: http://localhost:3000/admin/, and you can explore the admin interface.
It's an excellent place to start exploring how things are linked together. If you choose the population of data, you'll even be able to see some advanced linking and facets.
Thank you for reading, and let's connect!
Thank you for reading my blog. Feel free to subscribe to my email newsletter and connect on Facebook or Twitter

