Here's a use-case you build a fantastic web application, and it's amazing. Then your colleague asks you how the speed of this amazing application is?
Oef, you didn't check that during development but decide to run a lighthouse test to get a general understanding.
The results shock you a bit!

That sucks, your structure seems alright, but the website is just plain slow...
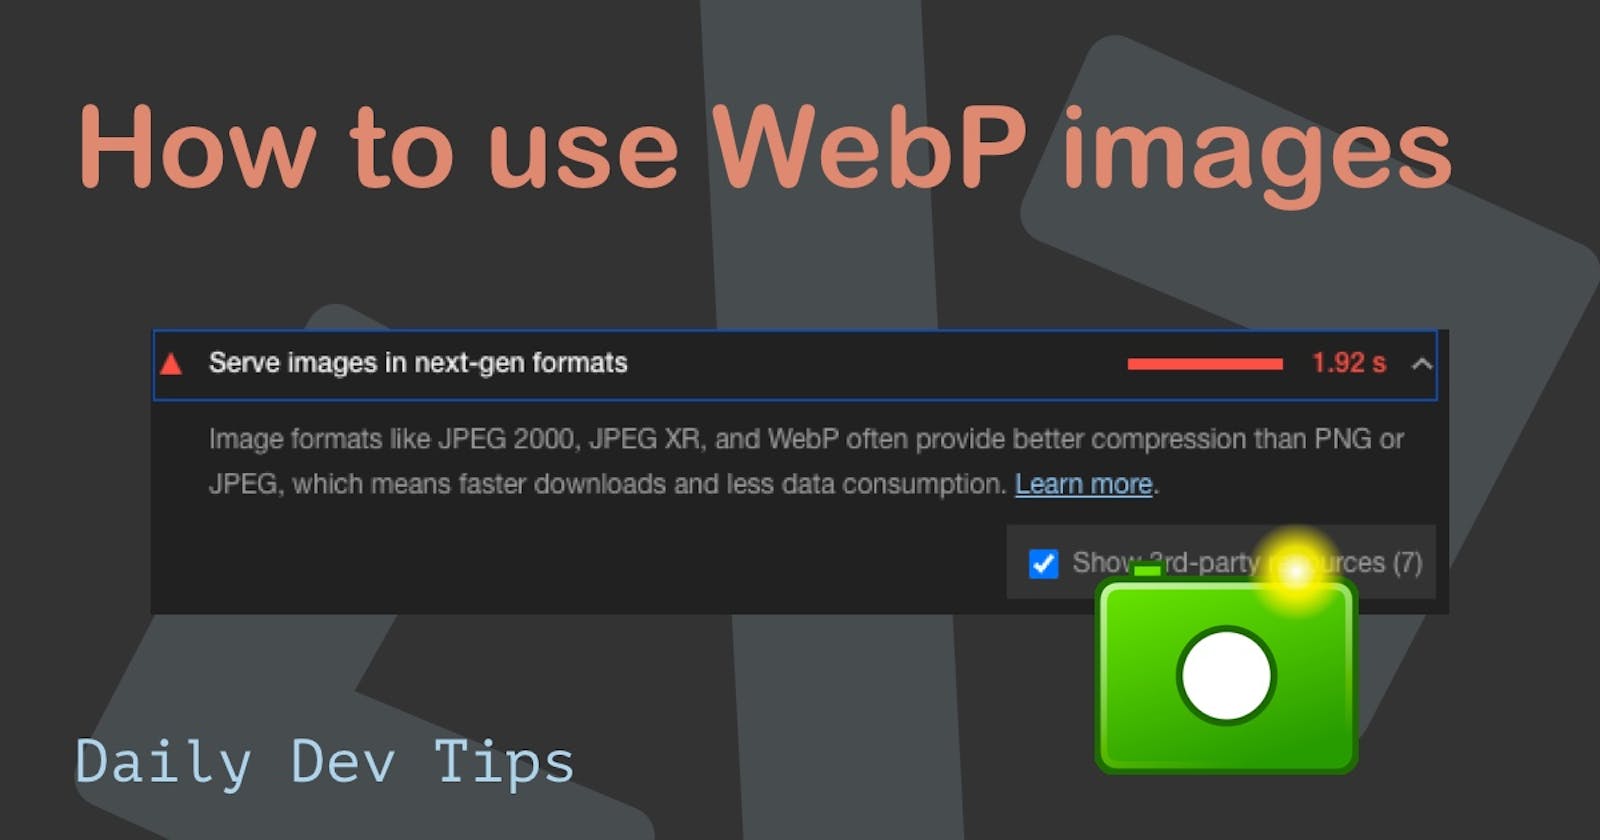
Doing some more research, you might come across this section:

And it's a valid point. Next-gen image formats are amazing and should be used.
What is a WebP image?
In this article, we'll be talking about WebP images, but what exactly are WebP images?
WebP is a new modern image format. It applies lossless and lossy compression for images on the web. Basically, it makes our files even smaller for the web!
Compared to a PNG, it saves around 26% and between 25-34% on JPEG.
The cool part is, it supports transparency as PNG's do. And at meager costs. Meaning a PNG converted to WebP is 3x smaller on average.
I've converted the exact same image in PNG, WebP, and JPG without special compression to showcase this.

Wow, that's one big jump in file size, and it's not even compressed.
Awesome, let's use these WebP images everywhere!
Using WebP images
So our main goal might be to replace every image on the site with a WebP variant.
<!-- before -->
<img src="cat.jpg" alt="a cute cat" />
<!-- after -->
<img src="cat.webp" alt="a cute cat" />
We did it, run it in Chrome, and it works. Lighthouse also seems happy, so done, right?
But about 15 minutes later, Linda from Marketing calls and complains all the images disappeared on her computer. You ask what browser she is using, and after a small battle finding out what a browser is, it turns out to be Internet Explorer.
Darn, we didn't check that! Now what? You and your developer colleague want a fast website, but it shouldn't go to waste for all the other users on non-modern browsers.
The browser support for WebP is not bad, but unfortunately, it's not fully supported yet.
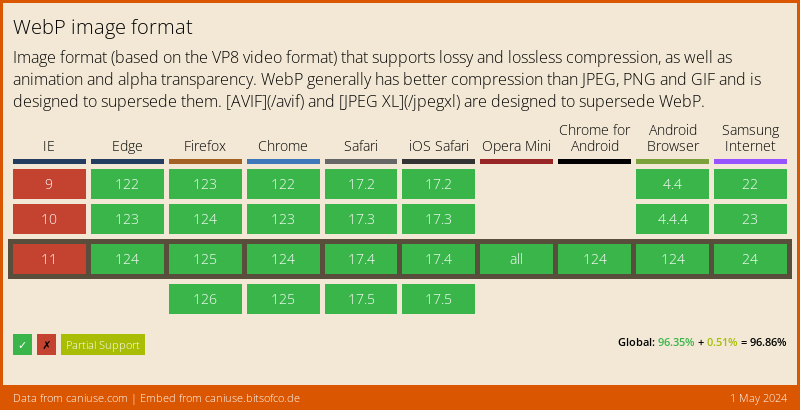
That is where the <picture> element comes in handy.
We can convert our <img> tags to be part of a <picture> element.
<picture>
    <source type="image/webp" srcset="cat.webp">
    <img src="cat.jpg" alt="A super cute cat">
</picture>
Pretty cool. Since the browsers will parse this top-down, if they support the WebP format, they'll choose that image, else they will fall back on the JPG in this case.
It's important to know that the picture element needs the <img> tag, and it will use that alt text to show on either of the sources.
Testing our the support fallback
You might think, cool, we got it working now, but how can I test this?
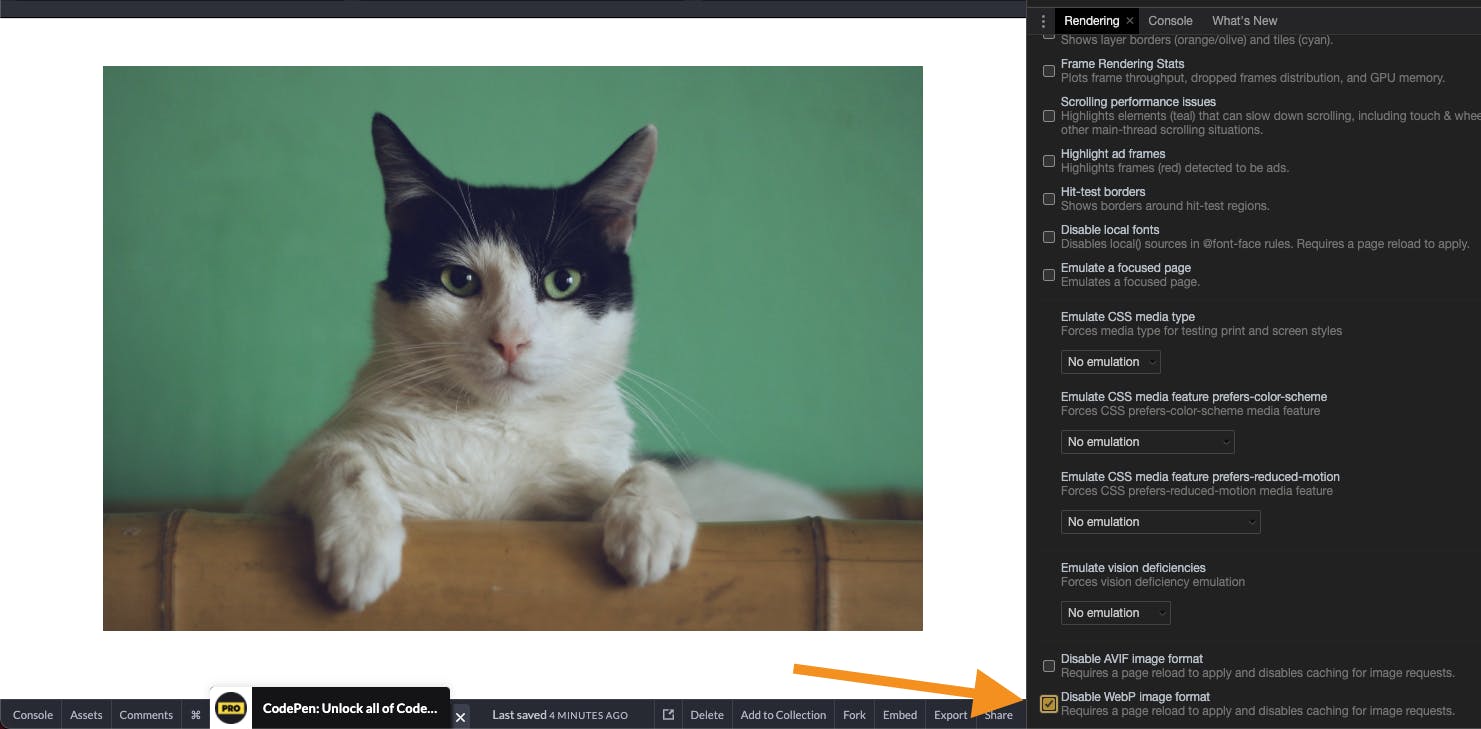
Luckily for us, Chrome 88 shipped an excellent modern image format rendering option.
You can find this option in your Chrome dev tools under the Rendering tab.
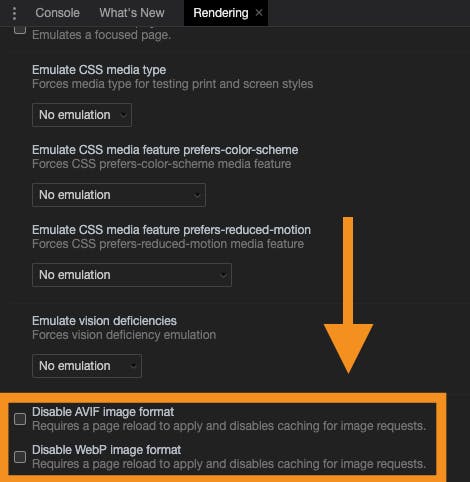
For my example, I used two pictures of different cats so we can see the difference.
When WebP is rendering, we should see this cute cat:
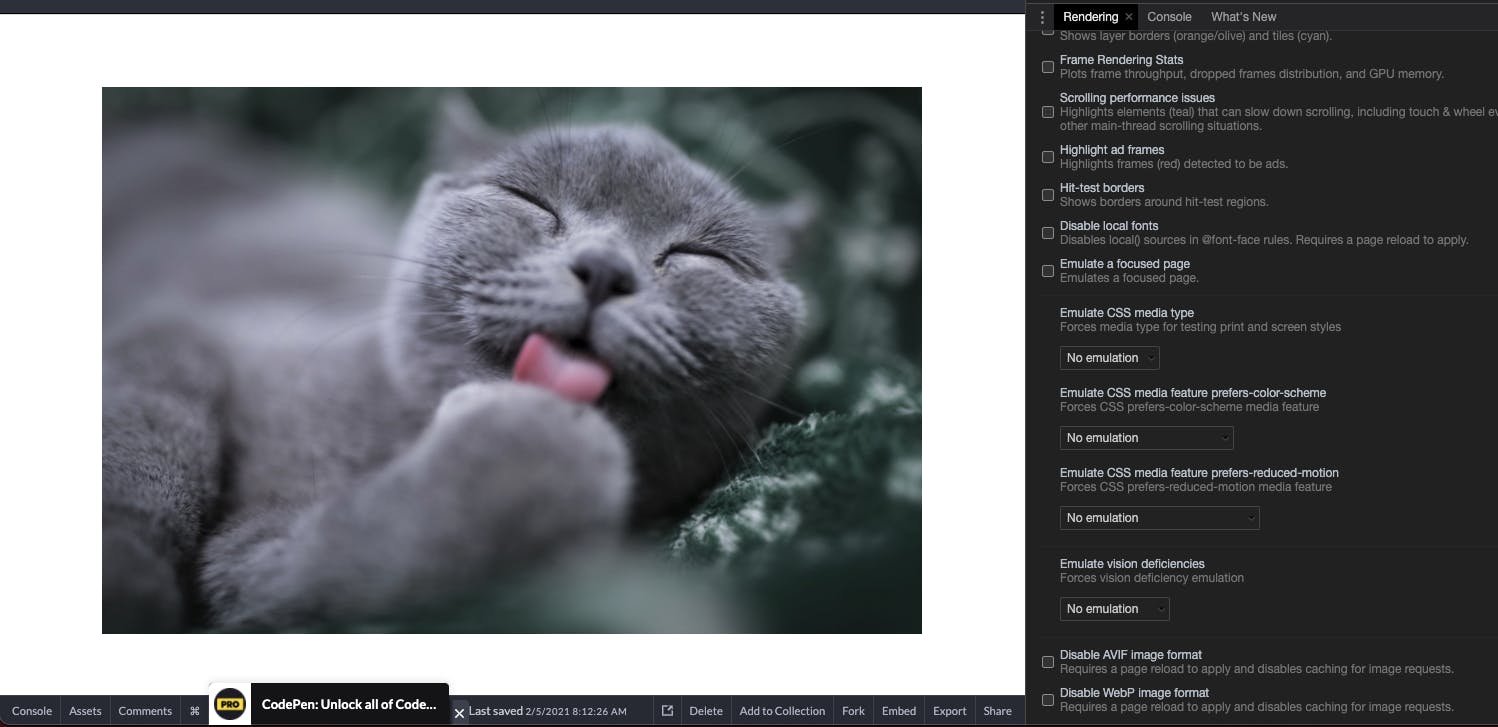
And as a fallback, when we don't have WebP support, we should see this cat.jpg image.
You can try this out using the following Codepen.
Browser Support
The HTML Picture element has almost full support, and don't worry, the browsers that are don't support the tag will just fall back to the <img> we placed inside the picture tag.

Thank you for reading, and let's connect!
Thank you for reading my blog. Feel free to subscribe to my email newsletter and connect on Facebook or Twitter

